Getting it right the first time saves time, prevents frustration, and ensures your project is built to last.
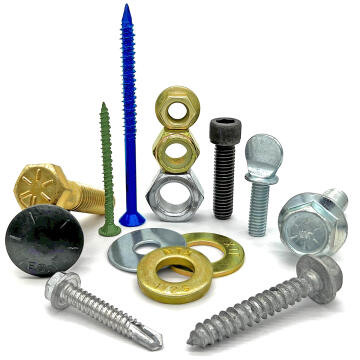
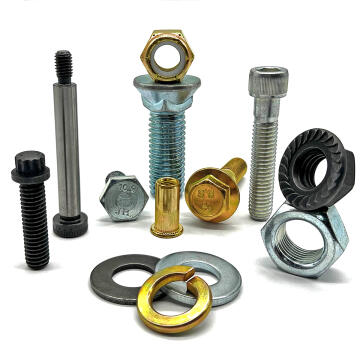
If you've ever stood in front of a pile of fasteners wondering which bolt actually fits your application, you're in good company. Getting the measurement right isn't just about convenience—it's about safety, performance, and avoiding costly rework down the line.
This guide walks you through the exact process we recommend for measuring bolt size, so you can confidently specify diameter, length, and thread pitch every time.
Tools You'll Need
Keep these essentials on hand:
- Measuring tape or ruler
- Calipers (highly recommended for precision)
- Thread pitch gauge (optional, but worth having)
Step 1: Measure Bolt Diameter
Diameter is the thickness of the threaded shaft—and it's the primary specification you'll need.
- Measure across the outside of the threads, not the smooth shank
- Use calipers for the most accurate reading
- This measurement defines your bolt size (1/4", 3/8", M8, etc.)
Pro tip: Always measure the outer edge of the threads. The smooth portion of the shaft will give you an incorrect diameter.
Step 2: Measure Bolt Length
Length measurement depends on bolt type—this matters because it affects how the fastener seats in your application.
For hex bolts and standard fasteners: Measure from the underside of the head to the tip of the bolt.
For countersunk (flat-head) bolts: Measure from the top of the head to the tip. The countersunk design sits flush, so the full length includes the head.
Step 3: Determine Thread Pitch
Thread pitch is the distance between individual threads—a critical specification for compatibility.
Metric bolts: Pitch is expressed in millimeters (e.g., 1.25mm between threads).
Imperial (SAE) bolts: Pitch is expressed in threads per inch (TPI).
You can measure pitch using a thread gauge or by comparing your bolt against a known fastener with matching specifications.
Step 4: Identify Thread Type
Thread type affects how the bolt performs in your assembly.
- UNC (Coarse Thread): Standard for most applications, faster installation, good for general-purpose fastening
- UNF (Fine Thread): Provides superior clamping force and vibration resistance, preferred for critical applications
Using the wrong thread type can prevent proper engagement and compromise your assembly.
Step 5: Verify Bolt Grade and Material
Grade indicates strength and load capacity. Check the markings on the bolt head:
- No markings = Grade 2 (mild steel, general purpose)
- 3 radial lines = Grade 5 (medium strength, common industrial use)
- 6 radial lines = Grade 8 (high strength, heavy-duty applications)
Selecting the correct grade ensures your fastener can handle the intended load without failure.
Quick Reference: Common Bolt Sizes
| Diameter | Typical Applications |
|---|---|
| 1/4" | Light-duty assembly, general fastening |
| 3/8" | Construction, machinery, structural work |
| 1/2" | Heavy-duty fastening, load-bearing applications |
Common Measurement Mistakes
- Measuring the bolt head instead of the shaft diameter
- Assuming thread pitch without verification
- Mixing metric and imperial measurements
- Measuring length from the wrong reference point based on bolt type
When to Replace a Bolt
Don't reuse a fastener if you observe:
- Visible rust, corrosion, or discoloration
- Stripped or damaged threads
- Bent, cracked, or deformed shaft
A compromised bolt can fail under load and create safety risks. Replacement is always the right call.
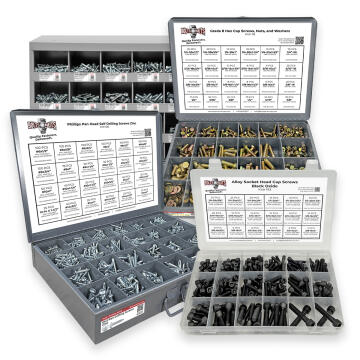
Finding the Right Fastener
Once you've measured your bolt, you'll know exactly what to specify. At Boltsandnuts.com, we stock a comprehensive range of fasteners across grades, materials, and sizes—from standard hex bolts and carriage bolts to stainless steel and specialty fasteners.
Filter by diameter, length, thread type, and grade to find the exact fastener your project requires.
Wrapping Up
Accurate bolt measurement is straightforward when you follow a systematic approach. With the right tools and these steps, you'll specify fasteners with confidence and avoid the delays and rework that come from getting it wrong.
Precision in measurement means precision in assembly—and that's how projects get built to last.